
Custom Ribbon Action Apps For SharePoint Online/O365 :


Open Visual Studio 2013> Select Option > App For SharePoint > OK


right click on on Newly created Solution > Add New Item


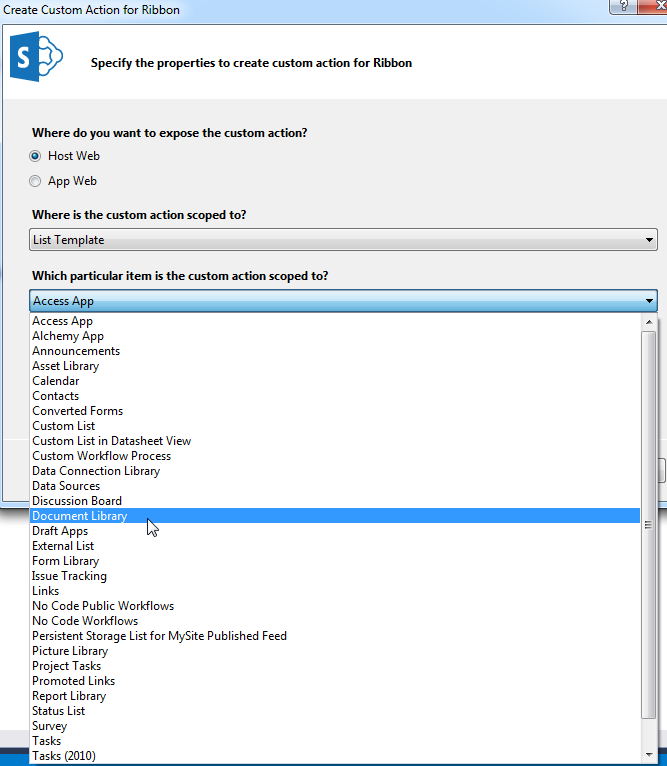
Select ribbon Option > 


Click ok


Modify the element .xml  based on your requirement 

<?xml version="1.0" encoding="utf-8"?>
<Elements xmlns="http://schemas.microsoft.com/sharepoint/">
  <CustomAction Id="23527d0d-e924-4838-94be-ee2e1a347210.Download Bulk Files"
                RegistrationType="List"
                RegistrationId="101"
                Location="CommandUI.Ribbon"
                Sequence="10001"
                Title="Invoke &apos;Download_Bulk_Files&apos; action">
    <CommandUIExtension>
      <!-- 
      Update the UI definitions below with the controls and the command actions
      that you want to enable for the custom action.
      -->
      <CommandUIDefinitions>
        <CommandUIDefinition Location="Ribbon.Library.Actions.Controls._children">
          <Button Id="Ribbon.Library.Actions.Download Bulk FilesButton"
                  Alt="Download Bulk Files"
                  Sequence="100"
                  Command="Invoke_Download Bulk FilesButtonRequest"
                  LabelText="Download Bulk Files"
                  TemplateAlias="o1"
                  Image32by32="_layouts/15/images/placeholder32x32.png"
                  Image16by16="_layouts/15/images/placeholder16x16.png" />
        </CommandUIDefinition>
      </CommandUIDefinitions>
      <CommandUIHandlers>
        <CommandUIHandler Command="Invoke_Download Bulk FilesButtonRequest"
                          CommandAction="~appWebUrl/Pages/ClientWebPart.aspx?{StandardTokens}&amp;SPListItemId={SelectedItemId}&amp;SPListId={SelectedListId}"/>
      </CommandUIHandlers>
    </CommandUIExtension >
  </CustomAction>
</Elements>


Write Client side Code  

<title></title>

    <script type="text/javascript" src="../Scripts/jquery-1.9.1.min.js"></script>
    <script type="text/javascript" src="/_layouts/15/MicrosoftAjax.js"></script>
    <script type="text/javascript" src="/_layouts/15/sp.runtime.js"></script>
    <script type="text/javascript" src="/_layouts/15/sp.js"></script>


    <script type="text/javascript">
        // Set the style of the client web part page to be consistent with the host web.
        (function () {
            'use strict';

            alert('Downloading !');

            var clientContext;
            var listCreationInfo;
            var web;
            var list;

            clientContext = SP.ClientContext.get_current();
            web = clientContext.get_web();
            listCreationInfo = new SP.ListCreationInformation();
            listCreationInfo.set_title("Shared Documents");
            listCreationInfo.set_templateType(SP.ListTemplateType.genericList);
            list = web.get_lists().add(listCreationInfo);
            clientContext.load(list);
            clientContext.executeQueryAsync
                (
                 //function () { alert("Success!") },
                // function () { alert("Request failed") }
                  Function.createDelegate(this, successHandler),
                  Function.createDelegate(this, errorHandler)
                );

            function successHandler()
            {
                alert('pass');
            }

            function errorHandler()
            {
                alert('fail');
            }

        })();

        
    </script>


Result 

Comments

Popular posts from this blog

PowerShell For create Sub site in office 365

#Add references to SharePoint client assemblies and authenticate to Office 365 site Add-Type -Path "\Software\SharePoint 2013 Client Browser v1.7\Microsoft.SharePoint.Client.dll" Add-Type -Path "\Software\SharePoint 2013 Client Browser v1.7\Microsoft.SharePoint.Client.Runtime.dll" $Username = Read-Host -Prompt "Please enter your username" $Password = Read-Host -Prompt "Please enter your password" -AsSecureString $Site = "https://XXXXXXX.sharepoint.com/sites/Test2/" $Context = New-Object Microsoft.SharePoint.Client.ClientContext($Site) $Creds = New-Object Microsoft.SharePoint.Client.SharePointOnlineCredentials($Username,$Password) $Context.Credentials = $Creds $csvLocation = "C:\Users\PS_SiteCollectionsToCreate.csv" $csv = Import-Csv $csvLocation #List Custom Templates $Templates = $Context.Site.GetWebTemplates("1033","0") $Context.Load($Templates) $Context.ExecuteQuery() $Templates | Whe...

Build and Deploy a custom theme in SharePoint 2019: Using C# and Site features

Custom Theme and Branding are common to use cases and all kinds of business users like to have the personalized team and collaboration sites. today I am posting C# code that will help to build custom features for SharePoint 2019 site.   If need any assistance, I would be happy to help: kamal_pandey@outlook.com  ----------------------------- Code to build  custom features---------- using System; using System.Collections.Generic; using System.Globalization; using System.Linq; using System.Text; using System.Threading.Tasks; using Microsoft.SharePoint; using Microsoft.SharePoint.Utilities; namespace SharePointBranding.Code {     public class BrandingManager     {         public SPWeb Web { get; set; }         public BrandingManager(SPWeb web)         {             Web = web;         }         public void SetMasterPage(stri...

SharePoint Framework extensions to Call Azure Function

In this article, we will talk about prerequisites, how to call Azure Function from SPFX extension, How to Create HHTP function, connect Visual Styuid editor to Azure and publish them, and Set Up CORS on the Azure Function, Create SharePoint Framework Extension, Azure Function, etc. Prerequisites :  Azure Subscriptions   VS code  Spfx Development Env  -   Step by steps details: https://docs.microsoft.com/en-us/sharepoint/dev/spfx/set-up-your-development-environment  Follow the below steps to create Azure Functions in the Azure portal.  Steps by steps guide:  https://docs.microsoft.com/en-us/sharepoint/dev/spfx/use-aadhttpclient-enterpriseapi    Reference :  https://docs.microsoft.com/en-us/answers/questions/430645/how-to-access-sharepoint-rest-api-in-my-function-a.html Step-1 : Login to Azure Portal (https://portal.azure.com/)   Step-2 : As highlighted below, click on the  + Create a resource, and click on “Comput...